
04.4 / CDS User Guide
Build laminas and
laminate families.
Connect materials, edit compact ply stacks, review effective results, and create reusable material records.
Complete manuals · download a whole collection
Each collection includes an editable Word manual and its matching searchable PDF, with linked contents, explanatory text, diagrams and references. Theory equations use native Word mathematics. Individual-page PDF buttons remain available.
These are dated reading editions of the public learning content. Interactive studies and account-controlled classroom notes and databases stay online. For current changes, follow the chapter links back to the website.
Current Workbench, reference editions and downloads
Use the online User Guide for current controls, the released model directory for selectable models and compatibility, and the Training Manual for connected exercises. Wider theory references do not mean every formulation is enabled in Workbench.
Dated GUI captures and compiled Web r18 PDF manuals retain their stated scope; they are not a substitute for current hosted Workbench instructions. Find the overview PDF, guides and exercise databases in Your CDS library.
8 plies · 1.000 mm total. Thickness is proportional in the section; line direction indicates angle, not a stress field.
[θ / −θ / 0 / 90 / 90 / 0 / −θ / θ]
All exercises, case studies and simulation examples → · Your CDS library: overview, manuals and database downloads →
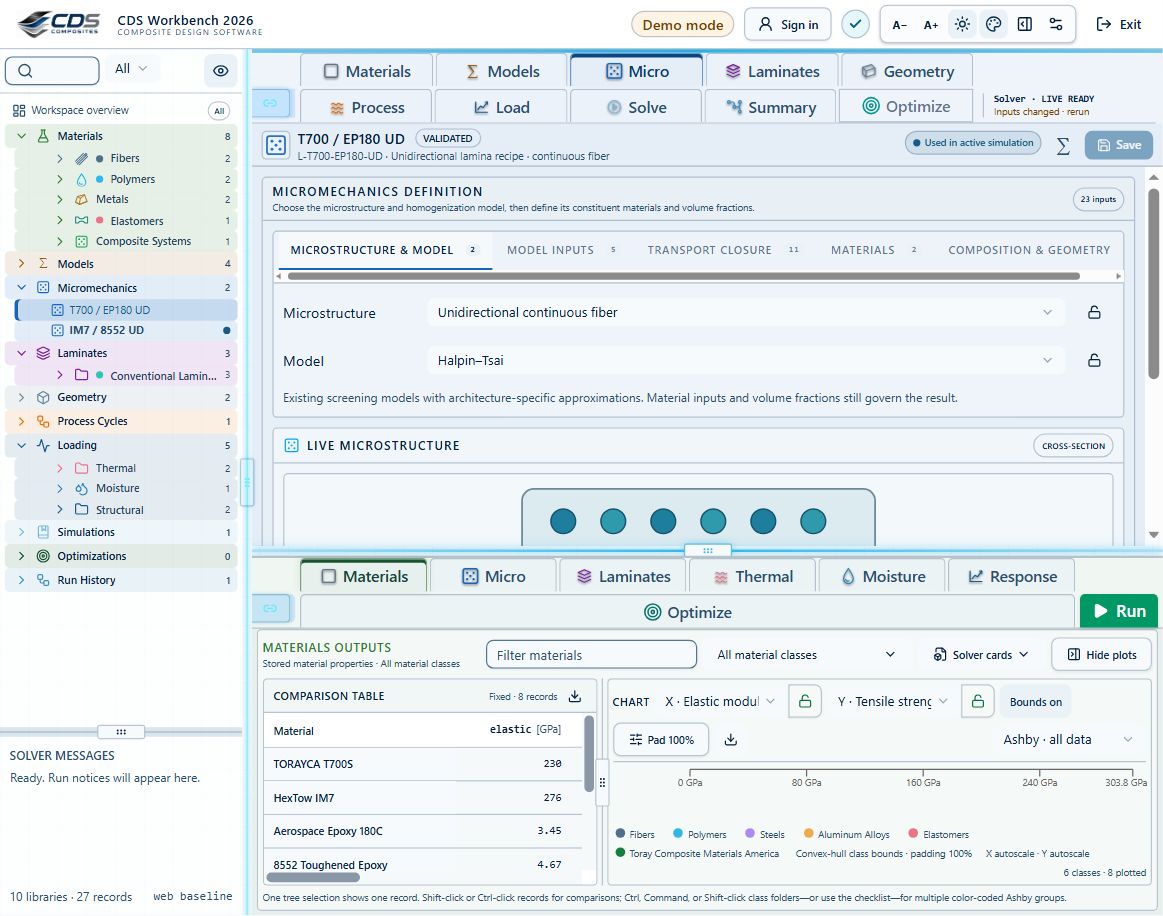
Create a lamina
Create or duplicate a lamina record, then connect its constituent materials through the editor selectors. Material filters can limit selections to a virtual material family.
- Select the lamina type. See screenshot
- Choose constituent materials.
- Enter architecture and volume-fraction inputs.
- Review constituent references in the editor and model summary.
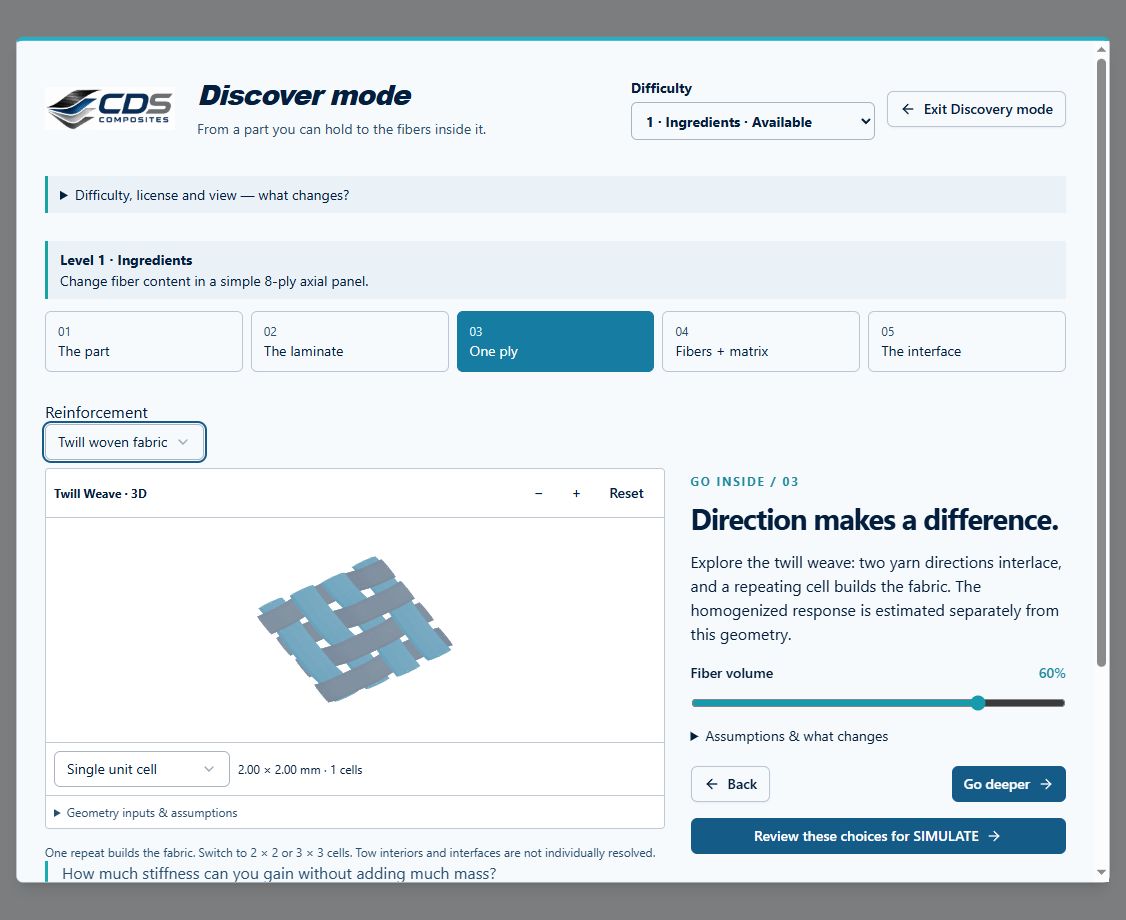
Organize laminate families
Create virtual folders under Laminates to group conventional, Double-Double, program-specific, or qualification laminates. The protected Conventional Laminates folder remains available as a base family.
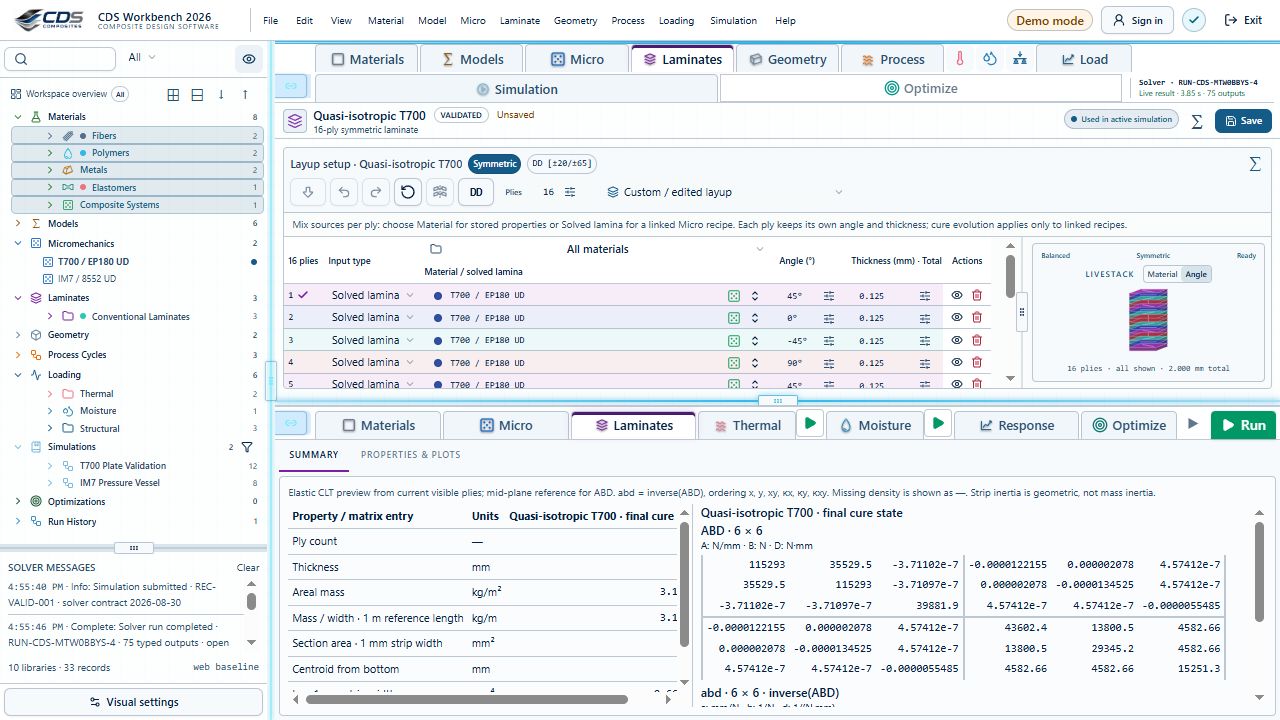
Use the compact laminate editor
The setup inputs and laminate status are condensed above the ply table. Select each lamina, set its angle with the −90° to +90° popup slider in 5° increments, and enter a thickness greater than zero. LiveStack defaults to angle coloring; switch to material coloring when checking sources.
Apply laminate relations
Apply Symmetry, Apply Balance, and Apply DD sit with their matching status indicators above the table. Each action updates the stack toward the indicated relation and becomes disabled when the current laminate already satisfies it or already matches the predicted DD stack.
Fill from the selected cell
In the single-laminate ply table, select or right-click the source cell. The row, column and cell highlight show the target. Fill entire column from ply copies that cell’s value to every ply in that column, including rows above the source.
- Check the source ply and column named in the menu or toolbar tooltip.
- Choose Fill only after confirming that every ply should receive that value.
- Review the full sequence and save only when intended. Invert and Symmetry act on their selected column too.
Start from common layups
Use the available templates for unidirectional, cross-ply, and quasi-isotropic stacks. When compatible, the editor can propose a stiffness-matched Double-Double candidate for comparison.
Review effective properties
Lamina and laminate Results use Table, Ashby, Bar, and Line views. A single selection shows that record’s predicted property indicators. Multiple selections produce a table with properties as rows and selected laminas or laminates as columns.
Create a material from effective results
Open Create Material in a lamina or laminate result view, then choose the destination material class. The dialog proposes the source lamina or laminate name and lets you rename the new record.
- Choose the target class so its relevant property assumptions are available.
- Choose properties only or include source-identifying information.
- Leave unpredicted properties empty or fill them with the selected class assumptions, such as tension equals compression.
- Review the new material record before using it in another model.
Workbench availability: released models, inputs and compatible study paths. The wider theory library includes reference formulations not available in every Workbench solve.